Showing posts with label Cardmaking Video. Show all posts

Monday, April 15, 2024

Quick Cards Birthday Recipe for Kat Scrappiness

 Hello everyone.  I have another Birthday card to share using the Quick Cards birthday Recipe Challenge for Kat Scrappiness. 

 I have a video on my YouTube channel that you can watch here.


You still have time to participate.  Upload your card to the Kat Scrappiness Blog


On my card, I used the Crafty Quokkas Pattern paper pack 6x6.  I cut it so I could use multiple patterns.  I then used Build A Cake Craft die with white cardstock that I ink blended with Picked Raspberry Distress Oxide ink.  I used a Wonky Wavy Stitched Oval die for my shape.  I embellished with the Barbie Christmas Sprinkle Mix and Happy Summer enamel dots.  The  sentiment is from the Simple Sentiments Valentine Edition with coordinating die that I added with a foam strip.  Everything else was glued on a A2 card base.


Here is the Quick Card Kit Birthday bundle I have been creating with that you can purchase and craft with it too. So fun.


Thank you for visiing my blog and I hope you watch my video.  I also hope you join the challenge for a chance to win.

Supplies:

Build A Cake Die

Crafty Quokkas paper Pad 6x6 

Wonky Wavy Stitched Oval dies 

Happy Summer Enamel Dots

Barbie Christmas Sprinkle Mix 


Affiliate Links have been added but of course no extra charge to you.  

I appreciate your support.  It means a lot.


Sunday, October 1, 2023

Beautiful Poinsettia Stencil-A Colorful Life Designs

 Hello everyone.  Happy October 1st.  A Colorful Life Designs has a New Release today.  I used the New Beautiful Poinsettia and Spread Love Stamp set on my video today.  Use VonFan10 to save 10% off your purchase.


Watch my video here


I started out with off white cardstock cream like.  I placed my stencil over and ink blended with Catherine Pooler's Tutti Fritti ink for the red, and Tiara for the yellow center.  I then flicked some gold paint splatters onto my background.


I then cut my panel to 4 x 5.5 inches.  I stamped my sentiment with my Misti Stamping Platform and stamped a sentiment from the New Spread Love Stamp with Versafine black ink.  I glued my panel to a gray A2 card base and added some gems from Pinkfresh Studio.  That finishes my card, I hope you like it.


Here is my card I made on my video:


Supplies:


Affiliate Links have been added but of course no extra charge to you. 

I appreciate your support.  It means a lot.


Sunday, September 17, 2023

Kitty Birthday Card

 Hello everyone!  I have a Kitty Birthday Card Video on the Kat Scrappiness YouTube Channel using New Products from Kat Scrappiness's Newest Release.  You can watch my video here


I love how this cute Mini Slimline card came out.  I used the New Kitty Chasing Butterflies Die and some New Glitter Paper from the New Kat Scrappiness Release.  I cut out my kitty with white cardstock and ink blended it with Lost Shadow Distress ink using my Pink Glitter brush tool.  (A New Favorite)  I then cut out my butterflies using the New Blue Glitter Paper pack.  I like the 2 sizes of the butterflies.  I also used a Mini Slimline Wonky Stitched die to cut out my background.  I chose a light purple from the New Purple Glitter paper pack.


Next, I cut out some glitter paper from the Autumn Glitter paper pack for my ground for my kitty.  I stamped and heat embossed my sentiments from the Happy Day Stamp set on black cardstock with White embossing powder.  I then fussy cut my sentiments.  I glued everything to a coordinating card base and I used the Graveyard Shift Sprinkle mix for the Clay Flowers on my card which I thought was perfect.  I hope you like my card and video.  It was a lot of fun.

Supplies:

Kitty Chasing Butterflies Die

Purple Glitter Paper 6x6

Blue Glitter Paper 6x6

Autumn Glitter Paper 6x6

Pink Glitter Ink Blending Brushes

Embossing Tool

Graveyard Shift Sprinkle Mix

Reverse Tweezers Rainbow Ombre 

Mini Slimline Wonky Stitched Dies

Happy Day Stamp

Embellishment Tray Pink

Affiliate Links have been added but of course no extra charge to you when you use my links.

Thank you so much for your support, I appreciate it.


Friday, September 1, 2023

Sunflower Scroll

 Hi everyone.  It's September which means A Colorful Life Designs has a brand New Release today. I have a video today you can watch here using the New Sunflower Scroll Stencil.

Lots of New Stencils and a New Stamp Set. So super exciting.  Use VonFan10 to save 10% off your purchase.


Master Creator Bundle


This is such a beautiful stencil and I love Sunflowers.  I used  the New Sunflower Scroll Stencil and ink blended Mustard Seed Distress Oxide ink on black cardstock.  I used Ground Espresso Distress ink for the centers of the sunflowers.  I did ink blend with a heavy hand because I chose black cardstock.  


I also used Prismacolor Pencils in the nooks and crannies and I love how my card came out using this stencil.  I used pencils in 916, 945, and 938.  Next, I cut my cardstock with a Tim Holtz deckle torn trimmer and made my panel squared.  I then  glued it to a card base.  I glued a foiled sentiment strip premade from my stash from Ellen Hutson.  I then added some gold confetti sprinkles.  I hope you like my card.  Check out the New Release here.

Supplies:

Sunflower Scroll Stencil

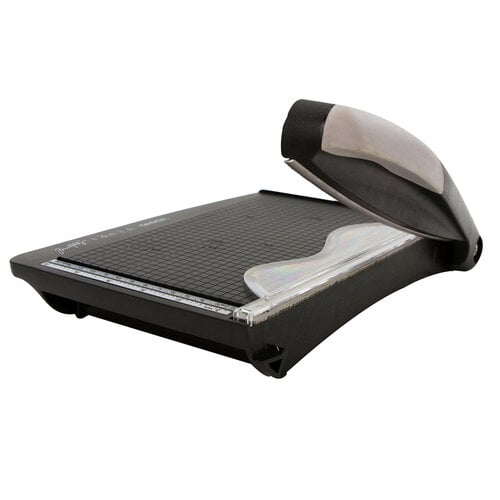
Tim Holtz Deckle Torn Trimmer

Tonic Studios - Tim Holtz - Deckle Torn Edge Trimmer

Affiliate Links have been added but of course no extra charge to you. 

I appreciate your support.  It means a lot.


Tuesday, August 1, 2023

A Colorful Life Designs New August 2023 Release

 Hello everyone.  I'm so excited for A Colorful Life Designs New August 2023 Release.  I have a video https://youtu.be/QqIxA-qbHe4 using a New Stencil and a New Stamp set.  Use VonFan10 to save 10% off your purchase.

Master Creator Bundle 20% off 

cannot be combined with coupon


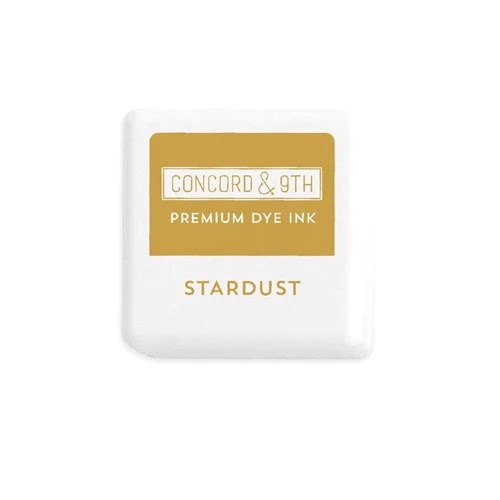
On my white cardstock, I used Concord and 9th ink cubes in Sea Glass ink and Stardust ink.  I ink blended first with Sea Glass ink and then laid the new In and Out Dots Stencil over it.  I then ink blended the stencil with Stardust ink.  I love these 2 colors of ink together.  I cut my background with a rectangle die a little smaller than A2 size.  I chose to make a Infinity Shaker card.  I grabbed a A2 card sleeve and placed my panel inside.  I used a tape runner to tighten the edges and poured gold glitter inside.


Next, I sealed my sleeve with the adhesive on it and more tape runner.  I cut out some kraft cardstock that looks like a paper bag shade.  I added my glitter shaker to it and then added them to my A2 card base.  I stamped a sentiment from the New Glitter Stamp set using Stardust ink.  I cut my sentiment with my paper trimmer and glued it to my card.  Lastly, I added some gold fleck enamel embellishments from Spellbinders and I think they matched perfectly.  That finishes my card it was easy to make.  My favorite type of shaker cards.

You can watch the video here by clicking the link.

Supplies:


Affiliate Links have been added but of course no extra charge to you when you use my links.
Thank you so much for your support, I appreciate it.


Another Holiday Card for {BYSHC} Sketch #72

 Hello everyone I have another Holiday card for {BYSHC} Card Sketch 72 .  Lawn Fawn is our sponsor this month yay. This is such a fun card s...