Showing posts with label YouTube Video. Show all posts

Friday, September 1, 2023

Sunflower Scroll

 Hi everyone.  It's September which means A Colorful Life Designs has a brand New Release today. I have a video today you can watch here using the New Sunflower Scroll Stencil.

Lots of New Stencils and a New Stamp Set. So super exciting.  Use VonFan10 to save 10% off your purchase.


Master Creator Bundle


This is such a beautiful stencil and I love Sunflowers.  I used  the New Sunflower Scroll Stencil and ink blended Mustard Seed Distress Oxide ink on black cardstock.  I used Ground Espresso Distress ink for the centers of the sunflowers.  I did ink blend with a heavy hand because I chose black cardstock.  


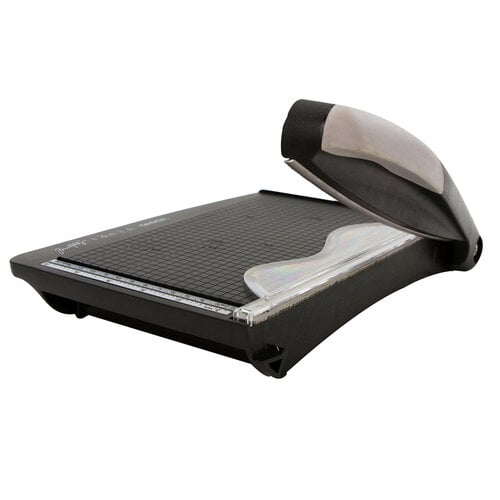
I also used Prismacolor Pencils in the nooks and crannies and I love how my card came out using this stencil.  I used pencils in 916, 945, and 938.  Next, I cut my cardstock with a Tim Holtz deckle torn trimmer and made my panel squared.  I then  glued it to a card base.  I glued a foiled sentiment strip premade from my stash from Ellen Hutson.  I then added some gold confetti sprinkles.  I hope you like my card.  Check out the New Release here.

Supplies:
Sunflower Scroll Stencil

Tim Holtz Deckle Torn Trimmer

Tonic Studios - Tim Holtz - Deckle Torn Edge Trimmer

Affiliate Links have been added but of course no extra charge to you. 

I appreciate your support.  It means a lot.


Monday, August 21, 2023

Life is Good

 Hi everyone. I have a fun card today.  I have been loving the New Kat Scrappiness Farmhouse Release and I hope you have too.  I have a New card video over on the Kat Scrappiness YouTube Channel. I would love for you to watch.


I started out with white cardstock and stamped all my images from the Farmhouse Stamp with black ink using my Misti Stamping Platform.  I colored my images with copic markers and then used the coordinating Farmhouse dies to cut them out.


Next, I cut out some Farmhouse Pattern Paper.  I love the papers from the New Farmhouse Paper Pack.  I used a A2 Embossed Edge Rectangle to cut my pattern paper out.  I also cut out the Slimline Wire and Woodgrain Frame die with Kraft cardstock.  I love that it looks like chicken wire for my scene card design.  I did cut it down to fit my card.  I then stamped and heat embossed a sentiment from the Farmhouse Sentiments stamp with white embossing powder on black cardstock.  I used the coordinating die to cut out my sentiment.  I also layered it on 2 more die-cuts for dimension.


I glued everything to a A2 kraft card base and I added some White Confetti Sprinkles and white gel accents with my white gel pen. My farm is popped up with foam tape for some dimension. That finishes my card.  I hope you like it.

Thank you for stopping by!

Supplies:


Farmhouse Dies


Affiliate Links have been added but of course no extra charge to you when you use my links.
Thank you so much for your support, I appreciate it.

Copic Markers Used:
E17, E74, Bg13, Bg15, BG10, R08, R14, R27, Y35, Y15, 


Tuesday, August 1, 2023

A Colorful Life Designs New August 2023 Release

 Hello everyone.  I'm so excited for A Colorful Life Designs New August 2023 Release.  I have a video https://youtu.be/QqIxA-qbHe4 using a New Stencil and a New Stamp set.  Use VonFan10 to save 10% off your purchase.

Master Creator Bundle 20% off 

cannot be combined with coupon


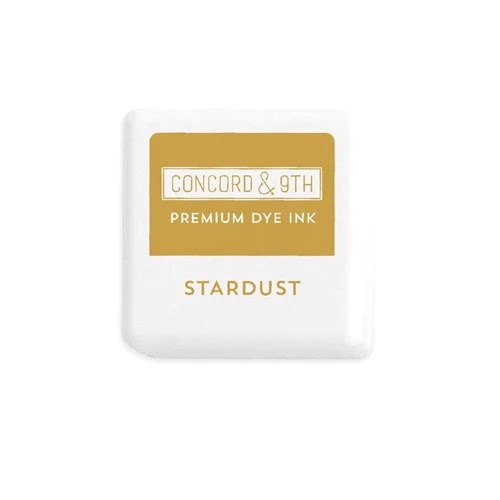
On my white cardstock, I used Concord and 9th ink cubes in Sea Glass ink and Stardust ink.  I ink blended first with Sea Glass ink and then laid the new In and Out Dots Stencil over it.  I then ink blended the stencil with Stardust ink.  I love these 2 colors of ink together.  I cut my background with a rectangle die a little smaller than A2 size.  I chose to make a Infinity Shaker card.  I grabbed a A2 card sleeve and placed my panel inside.  I used a tape runner to tighten the edges and poured gold glitter inside.


Next, I sealed my sleeve with the adhesive on it and more tape runner.  I cut out some kraft cardstock that looks like a paper bag shade.  I added my glitter shaker to it and then added them to my A2 card base.  I stamped a sentiment from the New Glitter Stamp set using Stardust ink.  I cut my sentiment with my paper trimmer and glued it to my card.  Lastly, I added some gold fleck enamel embellishments from Spellbinders and I think they matched perfectly.  That finishes my card it was easy to make.  My favorite type of shaker cards.

You can watch the video here by clicking the link.

Supplies:


Affiliate Links have been added but of course no extra charge to you when you use my links.
Thank you so much for your support, I appreciate it.


Another Holiday Card for {BYSHC} Sketch #72

 Hello everyone I have another Holiday card for {BYSHC} Card Sketch 72 .  Lawn Fawn is our sponsor this month yay. This is such a fun card s...