Monday, March 18, 2024

Cards using the New Whirligig Stencil

 Hello everyone.  I have 2 similar cards using the Whirligig Stencil from A Colorful Life Designs.  Use VonFan10 to save 10% off your purchase.


I chose 2 make 2 cards.  Landscape and Portrait.  


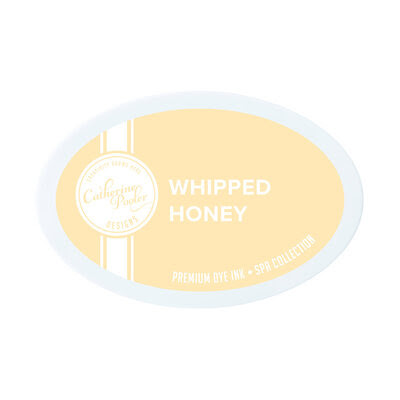
I love this Whirligig stencil set. You get 2 stencils and they are labled 1 and 2 so that it's easy to pair them together.  I started out with white cardstock.  I used Catherine Pooler inks in full sizes.  I used Dress Blues, Glam, Apricot, and Whipped Honey.  It's fun to use different inks, of course you can use 1 ink and it would be pretty too.  So I ink blended this set 2 times so I could have 2 cards.


I cut my panels to be smaller than A2 size.  I then placed my panel into a Misti Stamping Platform and stamped a sentiment on each panel with black ink from Simon Says Stamp Beautiful Friend Stamp.  I then glued them to a Kraft A2 heavy weight card base.  I then glued some yellow card bling from A Colorful Life Designs.  I hope you like them and grab this stencil set.

Thank you for visiting my blog.

Supplies:

Whirligig Stencil


Opaque Iridescent Lemon Card Bling


Affiliate Links have been added but of course no extra charge to you.  

I appreciate your support.  It means a lot.


Friday, March 15, 2024

Mid Month Motivation for A Colorful Life Designs March 2024

 Hello everyone.  I have a card today using March 2024 Mid Month Motiation Stencil from A Colorful Life Designs.  The Layered Mushrooms stencil is on sale for $4 until March 22 no code needed and you can still use my discount code VonFan10 Isn't that great?  


I think this stencil Layered Mushrooms is so beautiful.  You get 3 mushrooms.  The base and the top.  I chose to use white cardstock and ink blended my mushrooms base with Gina K Designs Amalgam ink.  I then used Pinkfresh Studio Passion Fruit ink for the Top portion of my mushrooms.  I ink blended blue ink for the sky using Hero Arts Hero Hues Splash ink.  I used Lawn Fawn Clover ink for the grass.  


I cut out my Mushrooms with a oval die using the Never Ending Oval dies from Kat Scrappiness.  I cut out some A2 creme colored cardstock and ink blended it with Gina K Designs Amalgam ink.  I love how it came out.  I stamped a sentiment from Porcu-pine For You Stamp with Red Lobster ink from Lawn fawn onto my oval die-cut.  I glued everything to a A2 card base.  I used a Unicorn Laser Pen from one of my Hero Arts my monthly kits for some white dots on my mushrooms.  You can use a white gel pen or white paint. I hope you like my card and grab this stencil thats's at a really great price. Shop A Colorful Life Designs here


Thank you for visiting my blog.🍄

Supplies:

Layered Mushrooms Stencil 6x9


Lawn fawn Porcu-pine For You Stamp


Kat Scrappiness Never Ending Oval Craft Dies


Affiliate Links have been added but of course no extra charge to you.  

I appreciate your support.  It means a lot.


Sunday, March 10, 2024

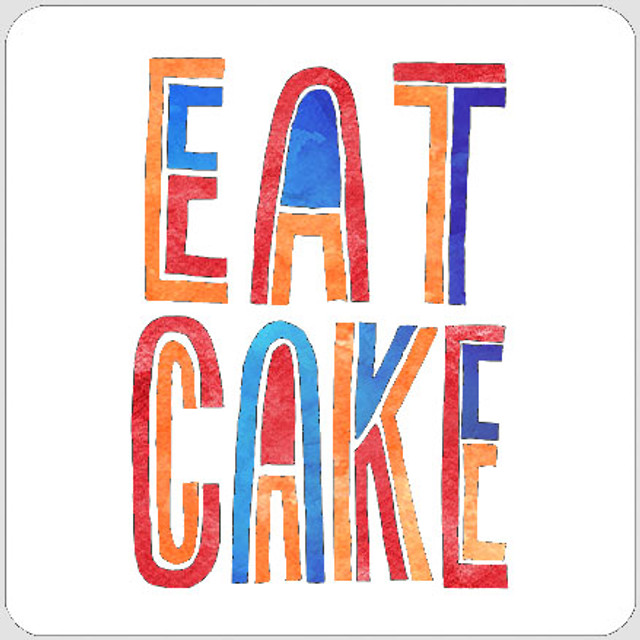
Eat Cake Layered Birthday Card

 Hello everyone.  I have a Birthday card today to share using A Colorful Life Designs New Release.  Use VonFan10 to save 10% on your entire purchase.


I think this Layered Eat Cake Stencil is so much. It consists of 3 stencils.  I love that it is perfectly sized for a US A2 size card.  Easy to batch and have a lot of these cards for your stash.  

First:

I started out with white cardstock and used Haro Arts Ombre Minto to Green ink for stencil 1.  For Stencil 2, I used Simon Says Stamp Saturated Pawsitively Bubblegum ink. On the last stencil, I used Simon Says Stamp Saturated Pawitively ink in Twilight.  I love how it came out.

Next:

I cut out my background with a Scalloped Rectangle die from My Creative Time.  I glued my rectangle to a pink A2 top folding card base.


Finally:

I glued some images from Lawn Fawn's Tea-riffic Day Add On that I stamped in black ink, colored with my Ohuhu markers, and fussy cut.  I also added some card bling from A Colorful Life Designs.

I hope you like my card, I do have some video coverage, if you would like to see how I layered the Eat Cake stencils.  Just Let Me know.  You can check out the entire New Release here

Thank you for visiting my blog! 💗

Supplies:

Layered Eat Cake Stencil


Affiliate Links have been added but of course no extra charge to you.  

I appreciate your support.  It means a lot.


Friday, March 8, 2024

You Are Some Bunny Special To Me

 Hello everyone.  I have a card to share using A Colorful Life Designs Newest Release.  Don't forget to use my coupon code VonFan10 to save 10% on your next purchase.


On my card, I'm using the New Bunny Profile Stencil.  I think it's beautiful.  I first started out with some purple cardstock and ink blended the bunny with Picket Fence Distress ink.  I used the cloud edger stencil with Salvaged Patina Distress ink for my clouds. My clouds look a purplish color but thats okay.  I then used the Grass Edger 1 for some grass with Mowed Lawn Distress Oxide ink.  I love the bunny sitting on grass.  


I cut my bunny background to be US A2 size 4 1/4 x 5 1/2.  I tied a white hemp bow on the bunny and gave it some pink in its ears and on its nose.  I stamped a sentiment in black in on white cardstock from Simon Says Stamp Happy Days Ahead.  I cut it with my paper trimmer and adhered it to my card front with foam tape.  I glued my card to a A2 kraft card base and glued some purple card bling.  I hope you like my card.  I hope you check out the New Release here

Thank you for stopping by!💜


Supplies:

Bunny Profile Stencil


Cloud Edger Stencil


Affiliate Links have been added but of course no extra charge to you.  

I appreciate your support.  It means a lot.


Wednesday, March 6, 2024

Monster Birthday Card

 Hello everyone, I have a fun Birthday card today using 3 New Stencils from A Colorful Life Designs March Release.  Use my code VonFan10 to save 10% off your entire order.


Isn't this a cute Monster Birthday Card?  I used the New Monsters Stencil that come with masks.  I also used the New Starred Happy Birthday Stencil and New Monster sayings 

I started out with white cardstock and used the Monsters Stencil 6x9 first with Mowed Lawn Distress Oxide ink.  I used Versafine Clair ink in Nocturne and Gina K Designs white pigment ink for his eyes and mouth which is also included in the stencil. Super fun.  You actually get 3 monsters.  I then used the mask to cover my monster so that I could ink blend the Starred Happy Birthday Stencil 6x6.  I used Blueprint Sketch Distress ink, Fossilized Amber Distress Oxide ink, and Lumberjack Plaid ink.


I cut my background to be 4 x 51/4.  I glued it to a green A2 top folding card base.  I then used the Monster sayings Stencil 6x6 with Blueprint Sketch Distress ink on white cardstock.  I cut my sentiment with my paper trimmer and adhered it to my card with foam tape.  Lastly, I glued some Doodlebug Sprinkles in Love Assortment.  I hope you like my card it was a lot of fun to make.

Thank you for visiting me on my blog today.  Happy Crafting.

Supplies:

Monsters Stencil


Mobster Sayings Stencil


Affiliate Links have been added but of course no extra charge to you.  

I appreciate your support.  It means a lot.


Friday, March 1, 2024

BYSHC Sketch 43 for March

 Hi everybody.  BYSHC has a New Sketch Challenge for March.  I know you'll love the New Sketch as much as I do.  It's such an awesome way to get your Holiday Cards made early and you can win a prize.  Twiddlers Nook is our Sponsor this month.

Here is the New Sketch 43


Here is my take on the Sketch.  I used some Cool Winter tones.  I had a Recollections older Paper pack in my stash 12x12.  I cut my papers according to the measurements on the sketch.  I also used gray cardstock and a Scalloped Circle die.


I was able to cut out a sentiment from my pattern paper.  This card came together so easily.  I glued everything to a A2 card base.  I hope you can participate this month.  Just add your card to the Build Your Stash Holiday Cardmakers FB Group in the correct album. Use  #byshcsketchchallenge43 so we can see your card on social media.

Thank you for joining me today, Happy Crafting!


You Make Me Hoppy

 Hello everyone.  It's A Colorful Life Designs New March Release.  Oh yeah Happy March. Spring is Near.  Lots of New Stencils. 15 New Designs.  A Colorful Life Designs also has some New colors for their card bling and it's at a discount see below. So I hope you check it out.  Use VonFan10 to save 10% off your order.


On my card for today, I used the New Layered Bunny Stencil.  This stencil has the the face, ears, inner ears, and face.  It's really cute.  Fun to batch for many cards.  I started out with white cardstock.  I dragged my Catherine Pooler Whipped Honey ink pad across my A2 panel.  I then used the stencil with MFT Stamps Grape Jelly ink for my bunny.  I inked the eyes with black ink and a small blending brush.  as well as for the nose and cheeks I used pink ink from Hero Arts Taffy Hero hues ink cube.  I used white ink for the inner ears.  I love bunnies and purple and yellow together...squeal.


I cut my A2 panel smaller than A2 4 x 5 1/4.  I stamped my sentiment from MFT Stamps Here's To You Stamp with black ink onto my panel.  I then glued my panel to a kraft A2 card base.  I then glued some card bling from A Colorful Life Designs.  Check out the New Release here.

Thank you for visiting me today on my blog💜

Supplies:


March Card Bling New Colors


Affiliate Links have been added but of course no extra charge to you.  

I appreciate your support.  It means a lot.


{BYSHC} Christmas in July 2026 Linky Party Day 8

 Hello everyone Today's the last day for the {BYSHC} Christmas in July 2026 . I have had so much fun this week and I really enjoyed seei...